Mar 21, 2024
The foundation blender brush, also known as the Beauty Blender foundation brush, has revolutionized the way makeup enthusiasts apply foundation. This innovative tool combines the precision of a brush with the seamless blending capabilities of a sponge, allowing for flawless foundation application with minimal effort. Learning how to use the foundation blender brush effectively can elevate your makeup routine and help you achieve a flawless complexion. Let's explore how to apply foundation with the foundation blender brush and unlock its full potential.
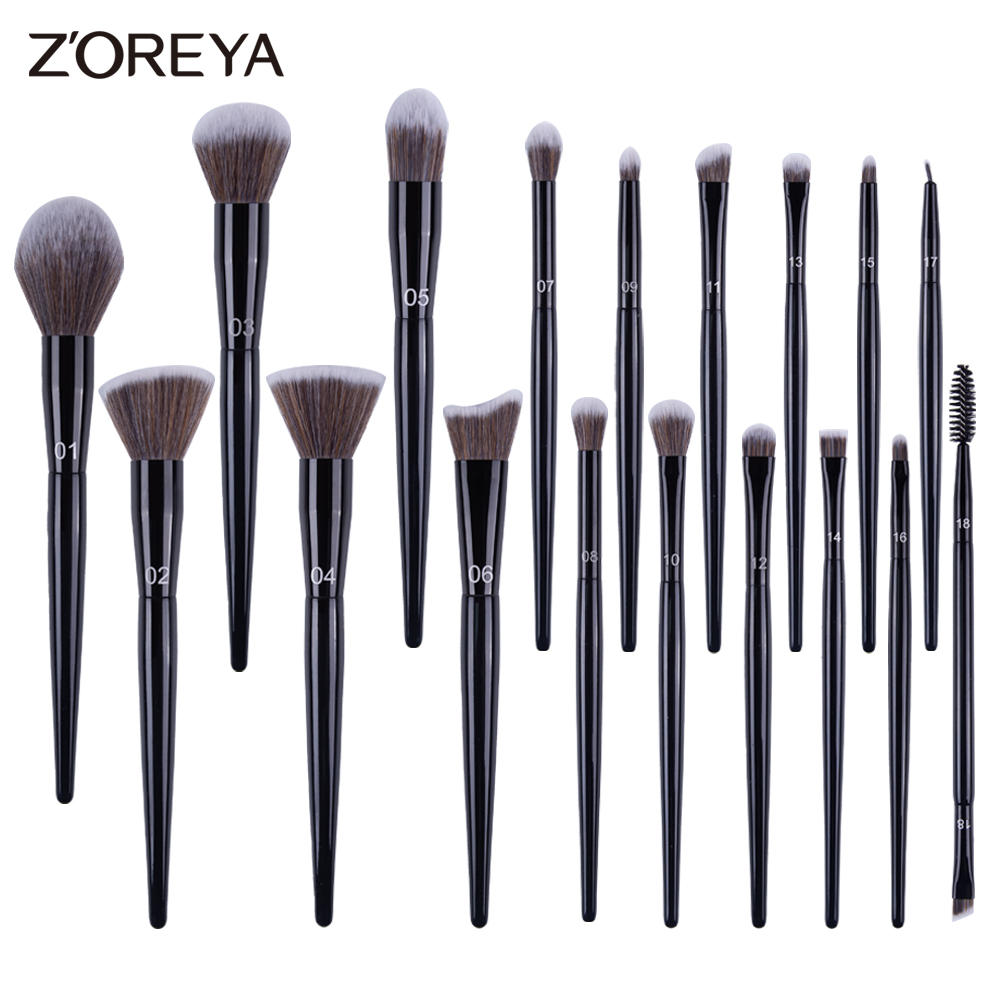
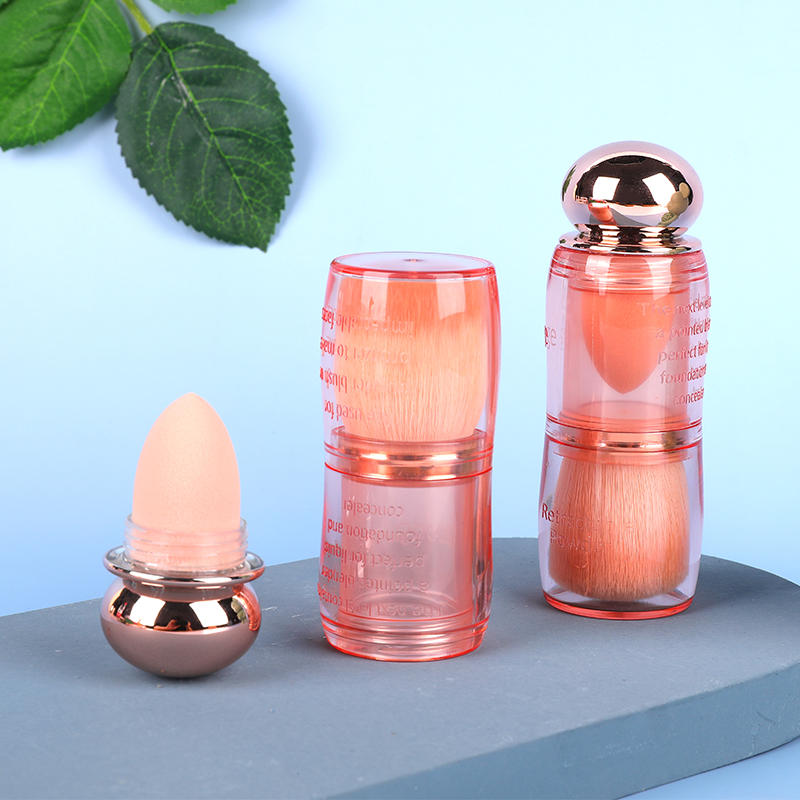
The foundation blender brush features a unique design that sets it apart from traditional foundation brushes and sponges. It typically consists of densely packed bristles with a rounded or tapered shape, similar to a traditional foundation brush. However, what distinguishes the foundation blender brush is its sponge-like texture and flexibility, which allows it to blend foundation seamlessly into the skin for an airbrushed finish.
Before applying foundation with the foundation blender brush, it's essential to prepare the skin properly. Start by cleansing and moisturizing your face to create a smooth, hydrated canvas for makeup application. Apply a primer if desired to minimize the appearance of pores, smooth texture, and prolong the wear of your foundation. Allow the primer to fully absorb into the skin before proceeding with foundation application.
Dispensing the Foundation:
To begin applying foundation with the foundation blender brush, dispense a small amount of foundation onto the back of your hand or onto a makeup palette. Use a liquid foundation formula for best results, as the foundation blender brush is designed to work seamlessly with liquid and cream products. You can also use a cream foundation or tinted moisturizer with the foundation blender brush, depending on your preferences and skin type.
Dip the foundation blender brush into the foundation product, picking up a small amount of product on the bristles. Start by applying the foundation to the center of your face, blending outward towards the hairline and jawline. Use light, sweeping motions to distribute the foundation evenly across the skin, focusing on areas that require more coverage or correction. The flexible bristles of the foundation blender brush allow for effortless blending and buffing, ensuring a smooth and seamless application.
Once the foundation is applied, use the foundation blender brush to blend and buff the product into the skin. Use circular motions, stippling motions, or a combination of both to blend the foundation seamlessly into the skin for a natural-looking finish. Pay particular attention to areas where the foundation meets the hairline, jawline, and neck to ensure a seamless transition and avoid any harsh lines or demarcations.
If additional coverage is desired, you can build up the foundation in layers using the foundation blender brush. Apply a small amount of foundation to areas that require extra coverage, such as blemishes, redness, or discoloration, and blend it into the skin using the same techniques as before. The foundation blender brush allows for controlled layering of product, allowing you to achieve your desired level of coverage without cakiness or heaviness.
Once the foundation is applied and blended to your satisfaction, you can set it in place using a translucent setting powder or setting spray. Use a fluffy powder brush to lightly dust setting powder over the entire face, focusing on areas that tend to become oily or shiny throughout the day. Alternatively, mist a setting spray over the face to lock the foundation in place and prolong its wear.
After each use, it's essential to clean the foundation blender brush to remove any product buildup and bacteria. Rinse the brush under lukewarm water, using a gentle brush cleanser or mild soap to thoroughly cleanse the bristles. Gently squeeze out any excess water and reshape the bristles with your fingers. Allow the brush to air dry completely before storing it in a clean, dry place.
Share:
Related Products
Don't hesitate to contact when you need us!
For exclusive deals and latest offers, sign up by entering your email address below.
Specialising in the manufacture and sale of mid to high end makeup brushes, mid to high end beauty eggs and air cushion puffs.
Product
CONTACT US
Address: 127#, Wenchuang Road, Huangzhai Town, Pujiang County, Zhejiang Province, China
Tel: +86-15867961255
Email: sales1@zhuoerya.cn
Mobile
Mid To High End Makeup Brushes Manufacturer

 English
 中文简体
中文简体
 Español
 Français
 Português
 日本語
日本語