Oct 02, 2026
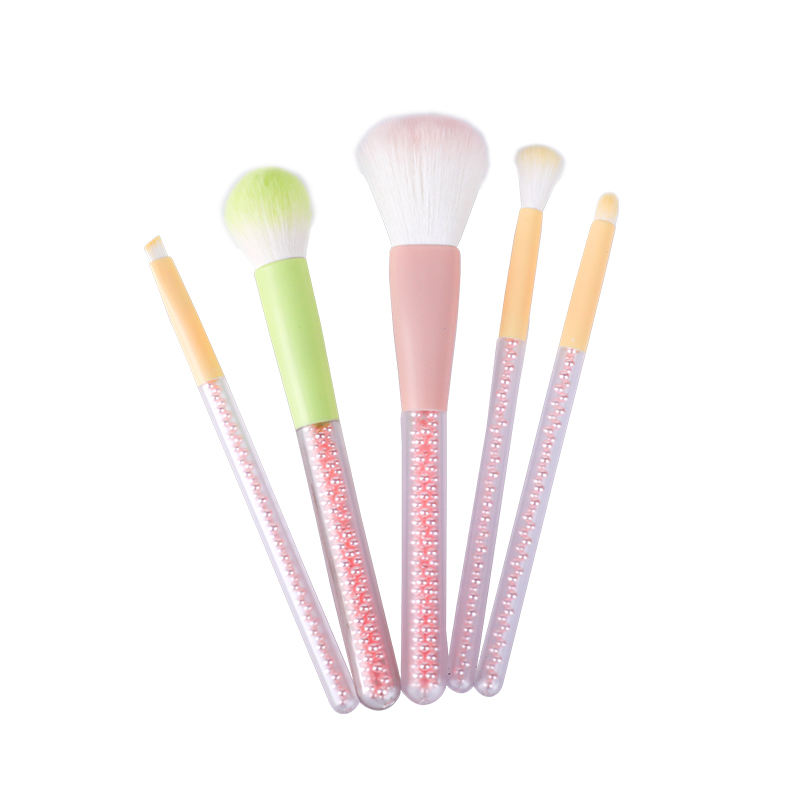
The way makeup looks on the skin depends not only on the product itself but also on the application technique. Using the same product with a Zoreya Makeup Brushes versus a beauty sponge (or blender) can yield vastly different application experiences and visual results. These differences are particularly noticeable when applying foundation, concealer, blush, or other base makeup products. Understanding how various tools influence coverage, blending, finish, and product distribution helps you select the application method based on your desired look and daily routine.

While both makeup brushes and sponges are designed to apply and blend cosmetics, they interact with the product and the skin in distinct ways.
When using a makeup brush, the bristles pick up the product and transfer it to the skin as the brush moves.
Depending on the type of brush and the product, users can employ various techniques—such as sweeping, pressing, short strokes, or small, circular blending motions. This approach allows for precise control over the direction and placement of the product.
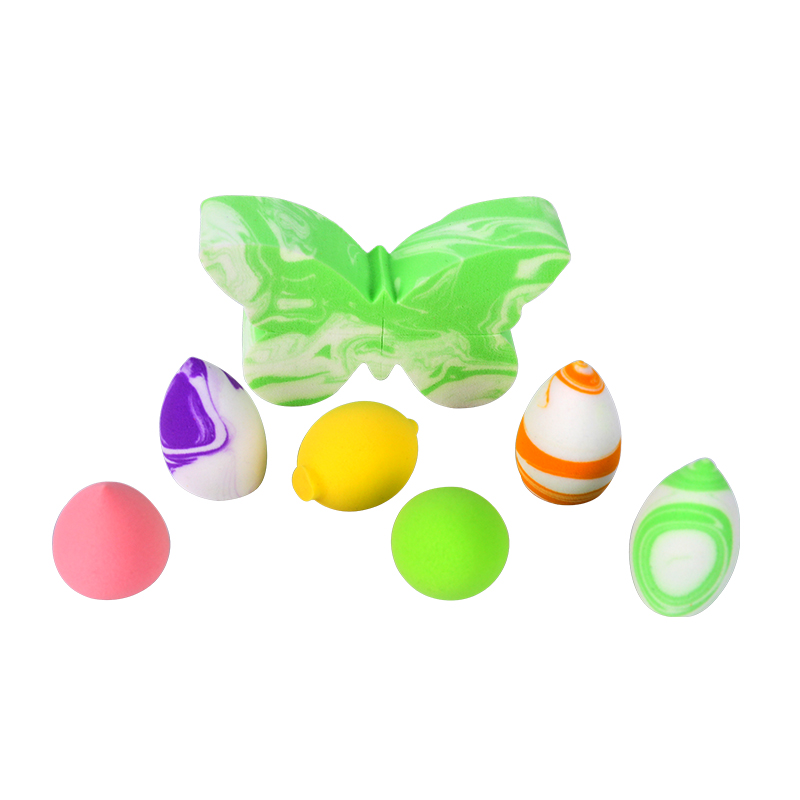
Makeup sponges operate on a completely different principle. Rather than focusing on spreading product across the skin's surface, they are typically used with a pressing, patting, or bouncing motion on the target area.
This repetitive contact action helps spread the product while seamlessly blending the edges of the makeup application. Liquid foundations, cream products, and concealers are particularly well-suited to this method.
Consequently, makeup sponges allow for flexible control over the final finish by adjusting the amount of product used and varying the pressing technique.
When shifting the focus from the application process to the final result, the differences in actual performance between these two tools become apparent.
Makeup brush: Allows for precise control over where the product is applied.
Makeup sponge: Allows for buildable coverage through repeated pressing motions.
Makeup brush: Supports various application techniques, each affecting product distribution differently. Actions such as sweeping, short strokes, and gentle circular buffing often yield distinct visual results.
Makeup sponge: Relies primarily on pressing rather than dragging. Repeated pressing helps blend makeup across different areas and softens harsh lines between applied sections.
Makeup brush: Allows the user to guide the product in specific directions and work meticulously along facial contours. This method is highly effective for products requiring precise placement and sculpting.
Makeup sponge: Relies more on repeated pressing or bouncing motions. Instead of spreading the product via long strokes, the user works on localized areas with small movements, facilitating the blending of adjacent layers.
Consequently, the amount of product remaining on the skin varies depending on the application technique. Factors such as product texture, pressure applied, the number of repetitions, and the size of the area covered all influence the uniformity of the finish.
The texture and consistency of a cosmetic product also affect how it responds to a brush or sponge. A tool that works well for one type of makeup may require a different technique when used with another.
Foundation
Foundation is one of the products that works with either application method. A brush can move the product across broader areas and allows the user to build or reduce coverage while working.
A sponge takes a different approach by pressing the foundation onto the skin. It can be brought in after the initial application to soften areas where the product looks uneven or where the transition between layers needs additional blending.
Concealer
Concealer is generally applied to smaller, more specific areas, so placement becomes an important part of the process.
A small brush gives the user control over where the product is deposited, which is useful when only a limited area needs attention. Once the product is in place, a sponge can be tapped around the edges to merge it with the surrounding makeup without spreading it too far.
Blush
Powder blush is often applied with a brush because the product can be picked up gradually and distributed over the cheeks through controlled movements. The application can be built little by little instead of placing a concentrated amount in one area.
Cream and liquid blushes behave differently. A sponge can press these formulas into the surrounding base, while a brush offers more control when the color needs to be directed toward a particular part of the cheek.
Contour and Bronzer
Contour and bronzer both require attention to placement, but they do not have to be applied in exactly the same way.
A brush can establish the initial placement and guide the product along the intended area. Afterward, a sponge can be used to soften the boundaries where the contour meets the foundation. The amount of blending needed will depend on the formula and the appearance the user is trying to create.
Highlighter
Highlighter is usually placed on selected areas rather than spread across the entire face. This makes control over product placement particularly relevant.
A small brush can deposit the product where it is intended, especially when working around smaller facial areas. If the edges appear too distinct, gentle sponge tapping can bring the highlighted area into closer visual harmony with the surrounding base.
Powder
Powder can be distributed with a brush when a light, even application is preferred. The user can pick up a small amount and work it across the face without necessarily creating a heavy layer.
A sponge provides a different option for areas that need a more concentrated application. Pressing the product onto a specific section allows the user to work locally rather than distributing powder broadly. The appropriate approach ultimately depends on the powder's texture, the area being treated, and how the rest of the makeup has been applied.
Application techniques are just as important as the tools used; both significantly influence the final result.
• Sweeping
Sweeping involves moving the tool across the face in long strokes to distribute product from one area to another. This technique yields a natural finish when applying foundation, loose powder, or other products over large areas; repeated sweeping over the same spot allows for gradual build-up of the product.
• Buffing
Buffing utilizes short, circular motions to break up excess product accumulation and blend it seamlessly with the surrounding makeup. This technique smooths and refines existing layers, creating an even base.
• Tapping
Tapping relies on a series of brief contact points rather than continuous dragging. The tool touches the skin, lifts, and—if necessary—touches down again; this is particularly effective for areas like the sides of the nose, under the eyes, or other small, precise spots.
• Pressing
Pressing involves placing the tool against the skin with moderate pressure and then lifting it. The product transfers to the skin through contact rather than surface dragging. This method is especially suitable for sponges and helps avoid disturbing makeup already applied to the area.
• Bouncing
Bouncing follows a rapid, repetitive rhythm. A sponge lightly touches the skin, lifts quickly, and immediately touches down again in the same spot. Repeating this motion allows for gradual product build-up while maintaining precision in the application area.
• Layering
Layering begins with applying a small amount of product, followed by a quick assessment of the coverage. Additional layers are applied only where necessary. This approach prevents the mistake of applying too much product before the initial layer has settled.
The final look is shaped by the interplay of these details. Formula, product quantity, hand pressure, the motion of the application tool, and the order of application all influence how the makeup appears on the skin.
Different makeup goals can call for different application approaches.
| Makeup Goal | Makeup Brush | Makeup Sponge |
|---|---|---|
| Lightweight Base | Allows controlled product distribution | Supports light pressing and blending |
| Buildable Coverage | Easy to adjust by area | Can build coverage through repeated application |
| Blended Finish | Useful for controlled blending | Useful for soft transitions |
| Detailed Application | Suitable for smaller areas | Less focused on precision |
| Powder Application | Convenient for gradual distribution | Useful for selected areas |
| Cream Products | Can spread and shape the product | Useful for pressing and blending |
This comparison is not about assigning one tool to every situation. It is about understanding what each application method can contribute to the makeup process.
A makeup routine does not have to rely on a single application tool from beginning to end. Different products often call for different handling, and changing tools during the routine can be a practical way to adjust the application without changing the makeup itself.
Foundation, for instance, may be spread with a brush first. Once the basic coverage is in place, a sponge can be brought in to work over areas where the edges need to look less noticeable. The second tool is not replacing the one; it is being used for a different part of the application.
The same idea applies to other products. Powder can be distributed with a brush, while cream blush or concealer may be worked into the surrounding makeup with a sponge. A smaller brush can take care of narrow areas around the eyes or nose, leaving the sponge for sections where a broader pressing motion is easier to manage.
Using both tools also gives the routine some flexibility. Rather than deciding that one tool has to handle every product, the application can change as the texture, placement, and blending needs change.
The better starting point is the makeup result you are trying to create, not the tool sitting on the table.
Look at the product first. Powder, liquid, and cream formulas do not always respond to the same type of movement. A brush may make sense when the product needs to be spread or placed with direction, while a sponge takes a different approach through pressing and repeated contact.
The area of the face matters as well. A broad section may be easier to cover with a larger brush or sponge, whereas smaller areas often call for something that offers closer control. The same routine may therefore involve more than one tool simply because the areas being worked on are different.
Your preferred application movement is another part of the decision. Some people naturally work with sweeping and buffing motions, while others prefer tapping, pressing, or bouncing. A tool that feels comfortable in the hand is easier to control, particularly when the makeup needs to be adjusted gradually.
There is also no reason to treat brushes and sponges as opposing choices. If one tool places the product well and another gives the desired blending effect, using them together may be more practical than forcing the entire routine into one application method.
Choosing between a makeup brush and a beauty sponge often depends on your application habits and the finish you wish to achieve. Makeup brushes offer precise control when applying, spreading, or sculpting products, whereas beauty sponges—used via pressing and blending motions—provide a distinctly different application experience.
The choice may also vary depending on the specific step of your routine, as different products—such as foundation, concealer, blush, and loose powder—often perform differently with these two application methods.
Rather than viewing brushes and sponges as mutually exclusive alternatives, consider them as unique tools—each effective on its own, yet capable of being used in combination to meet specific makeup needs.
Share:
Related Products
Don't hesitate to contact when you need us!
For exclusive deals and latest offers, sign up by entering your email address below.
Specialising in the manufacture and sale of mid to high end makeup brushes, mid to high end beauty eggs and air cushion puffs.
Product
CONTACT US
Address: No.127 Wenchuang Road, Pujiang County, Jinhua, Zhejiang, China
Tel: +86-15888923863
Email: jay.zoreyabeauty@gmail.com
Mobile

Mid To High End Makeup Brushes Manufacturer



 English
 中文简体
 Español
 Français
 Português
 日本語